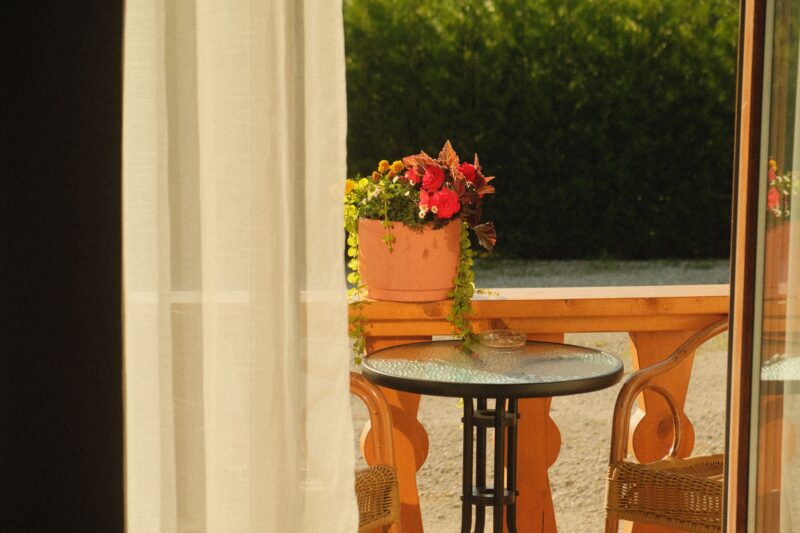
A balcony can be one of the most photogenic spaces in a home, with layered plants, warm light, and a view that draws the eye. The challenge is that the features people love in photos, like open railings, tall planters, and cozy furniture clusters, can also create fall or climbing hazards if they are placed carelessly. This guide explains how to plan a balcony that looks good on camera and still meets the safety basics.
Start With the Height and Opening Rules
Before choosing a single planter or lamp, learn the rules that govern your railing. In most residential codes, any open edge that sits more than 30 inches above the surface below needs a guard. The International Residential Code, as summarized in the R321 guard requirements, sets a minimum guard height of 36 inches for balconies and limits openings so a 4-inch sphere cannot pass through. Local rules can be stricter, so confirm the current edition with your building department before you buy materials.
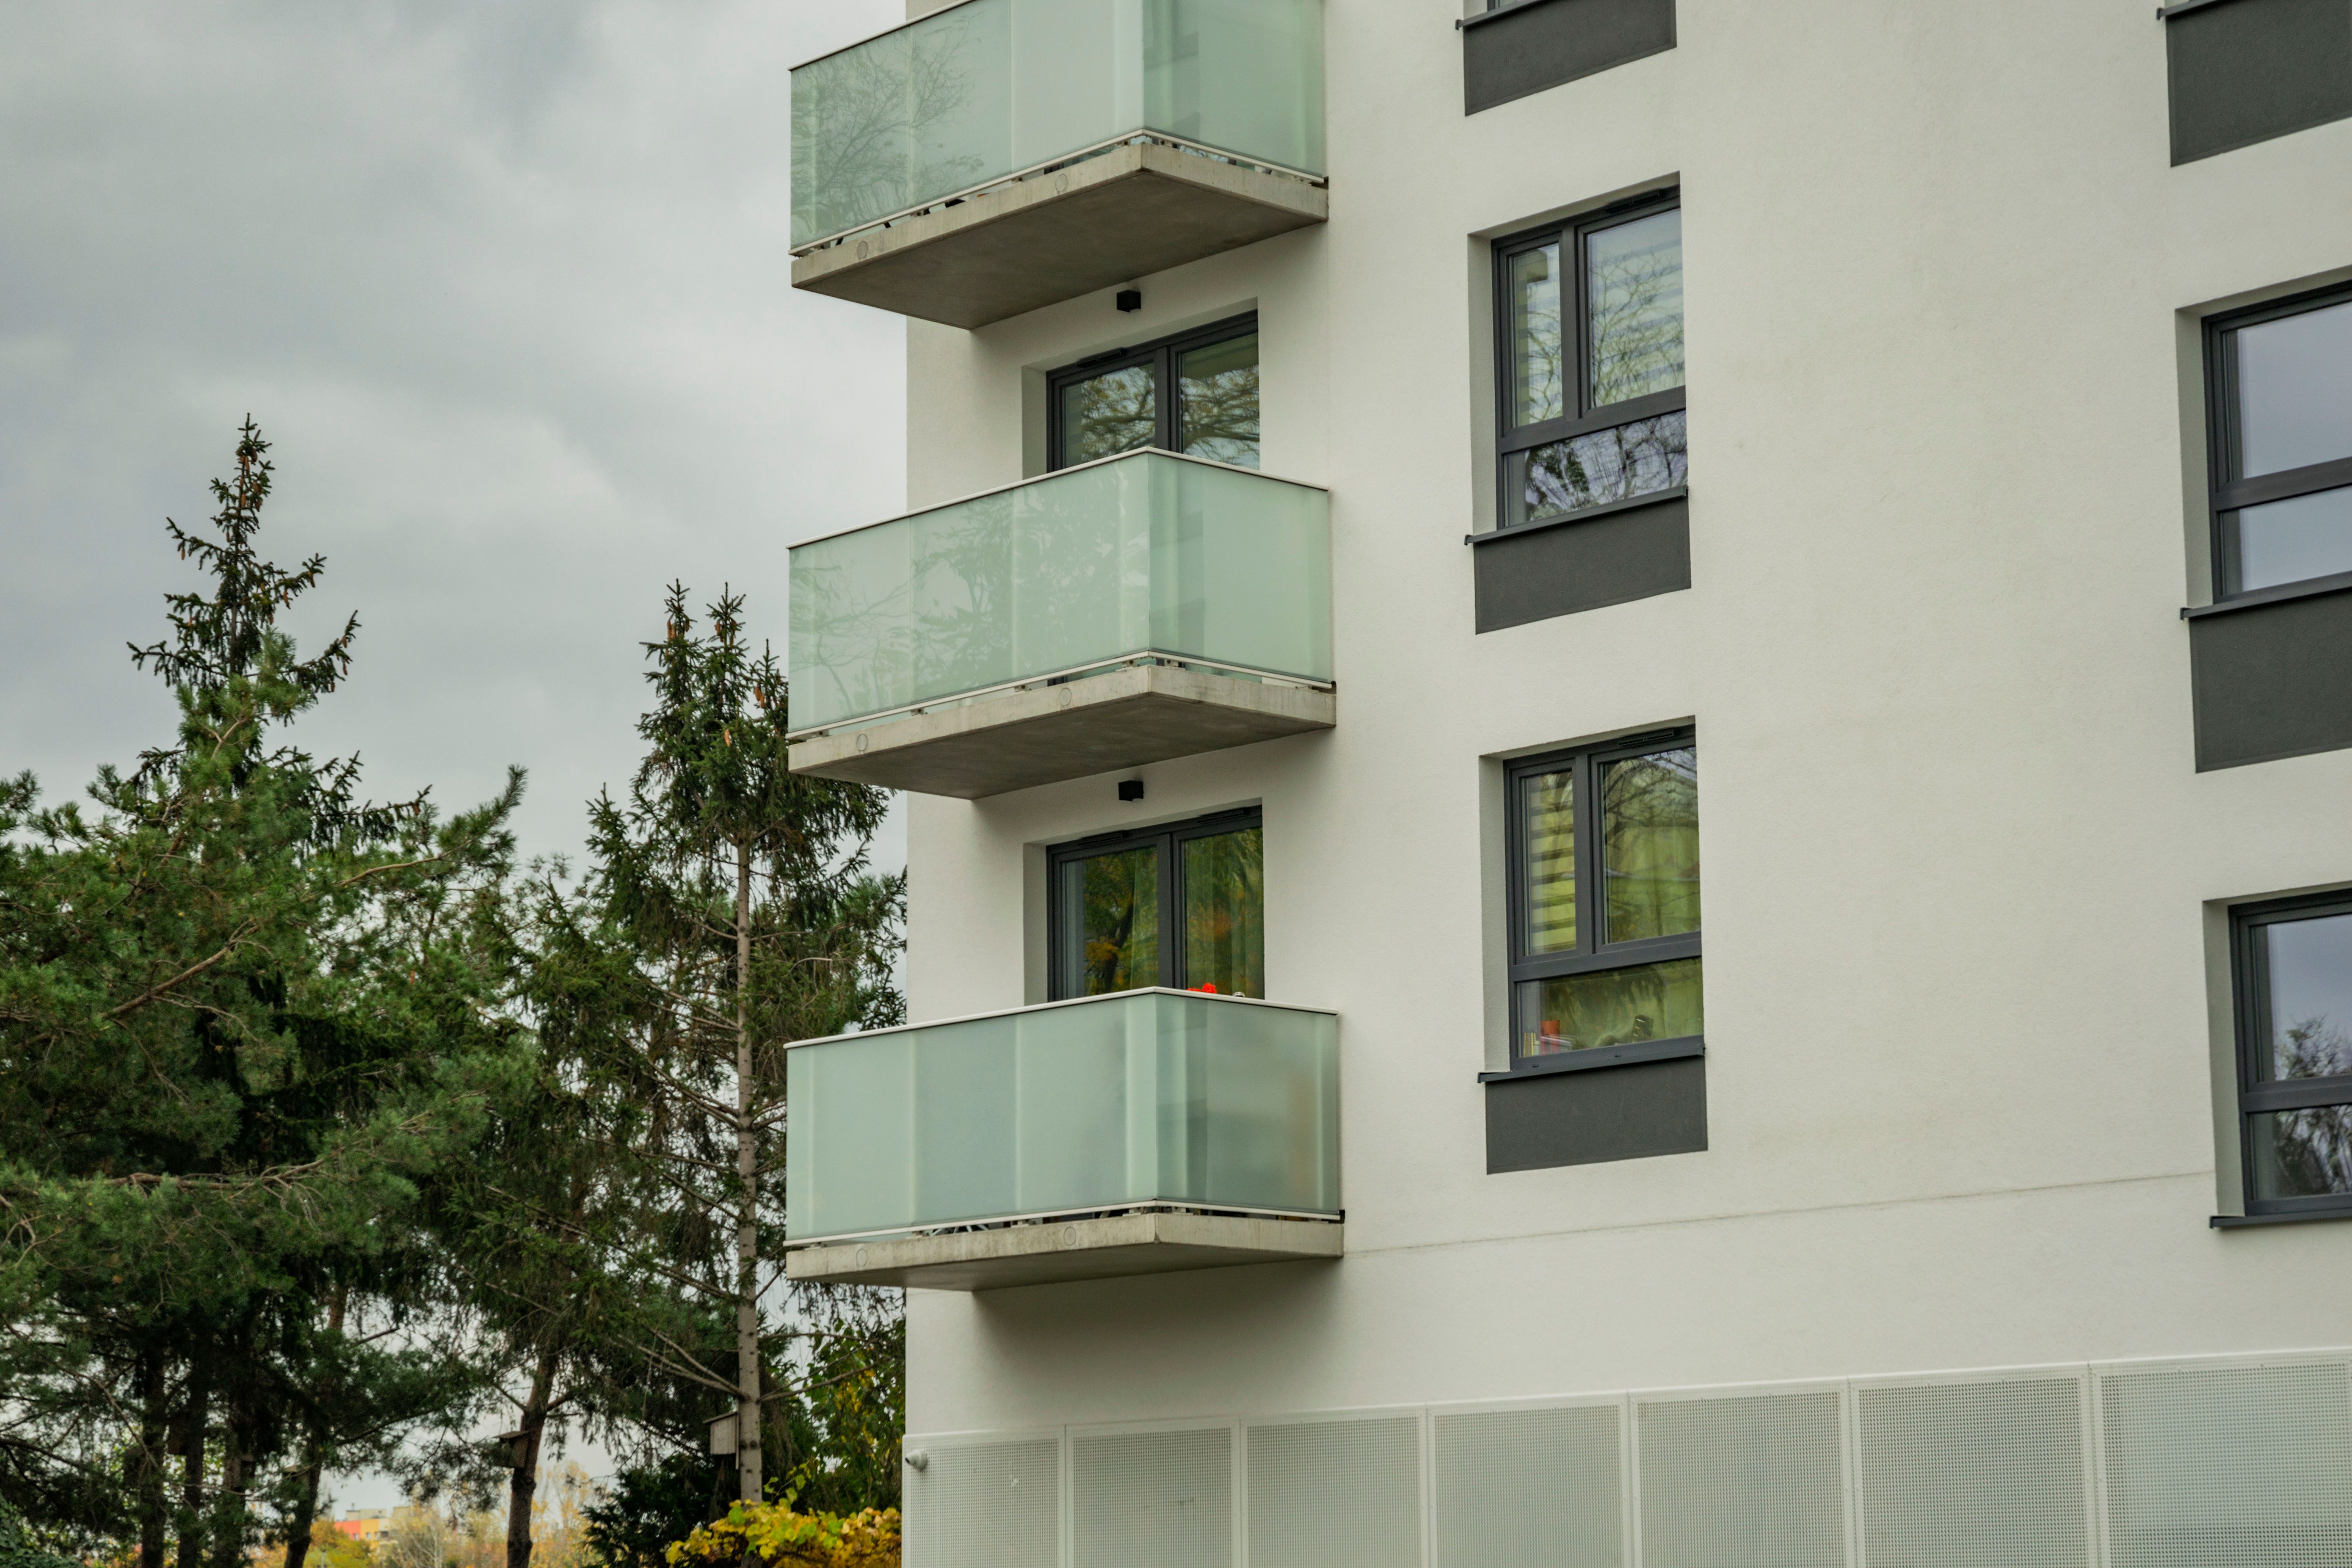
Requirements also change with height. Regulations in other countries often add stricter rules as the drop increases. The table below compares example requirements from two different jurisdictions to show how the thresholds scale.
Choose Railing Materials That Balance Look and Strength
Railing material shapes both the photo and the safety margin. Each option has trade-offs:
- Glass panels: Maximum view and a clean modern look, but they show fingerprints and need regular cleaning.
- Aluminum balusters: Slim profiles, low maintenance, and easy to fit with a consistent baluster spacing.
- Cable systems: Very light visually, though cable spacing must be checked carefully against the opening limits.
- Wood-look options: Warm and natural, but they need the right treatment to resist weather.
If you want the warmth of timber without constant sealing and rot repairs, composite balustrades are worth comparing. Before you buy any system, check the spec sheet for opening sizes, load ratings, and mounting requirements. Decorative panels sometimes have wider gaps than the code allows, and that detail is easy to miss when a product looks perfect in a showroom.
Keep Climbable Furniture Away From the Edge
Furniture is where many balcony designs go wrong. A chair pushed against the railing becomes a step, and a child can use it to reach the top of the barrier. Practical habits that protect the look and the safety include:
- Set seating well back from the railing, and keep a clear zone along the edge.
- Choose heavier chairs and tables that children cannot easily drag across the floor.
- Avoid stacking storage boxes, toys, or planters near the rail.
- Keep the balcony door locked or fitted with a self-closing device when children are present.
A deck, balcony and window safety guideline from the Queensland Government recommends keeping climbable objects well away from balustrades for exactly this reason. Placing seating a short distance from the rail also makes the layout feel more open in photos.
Plan Planters So They Frame the View Instead of Blocking It
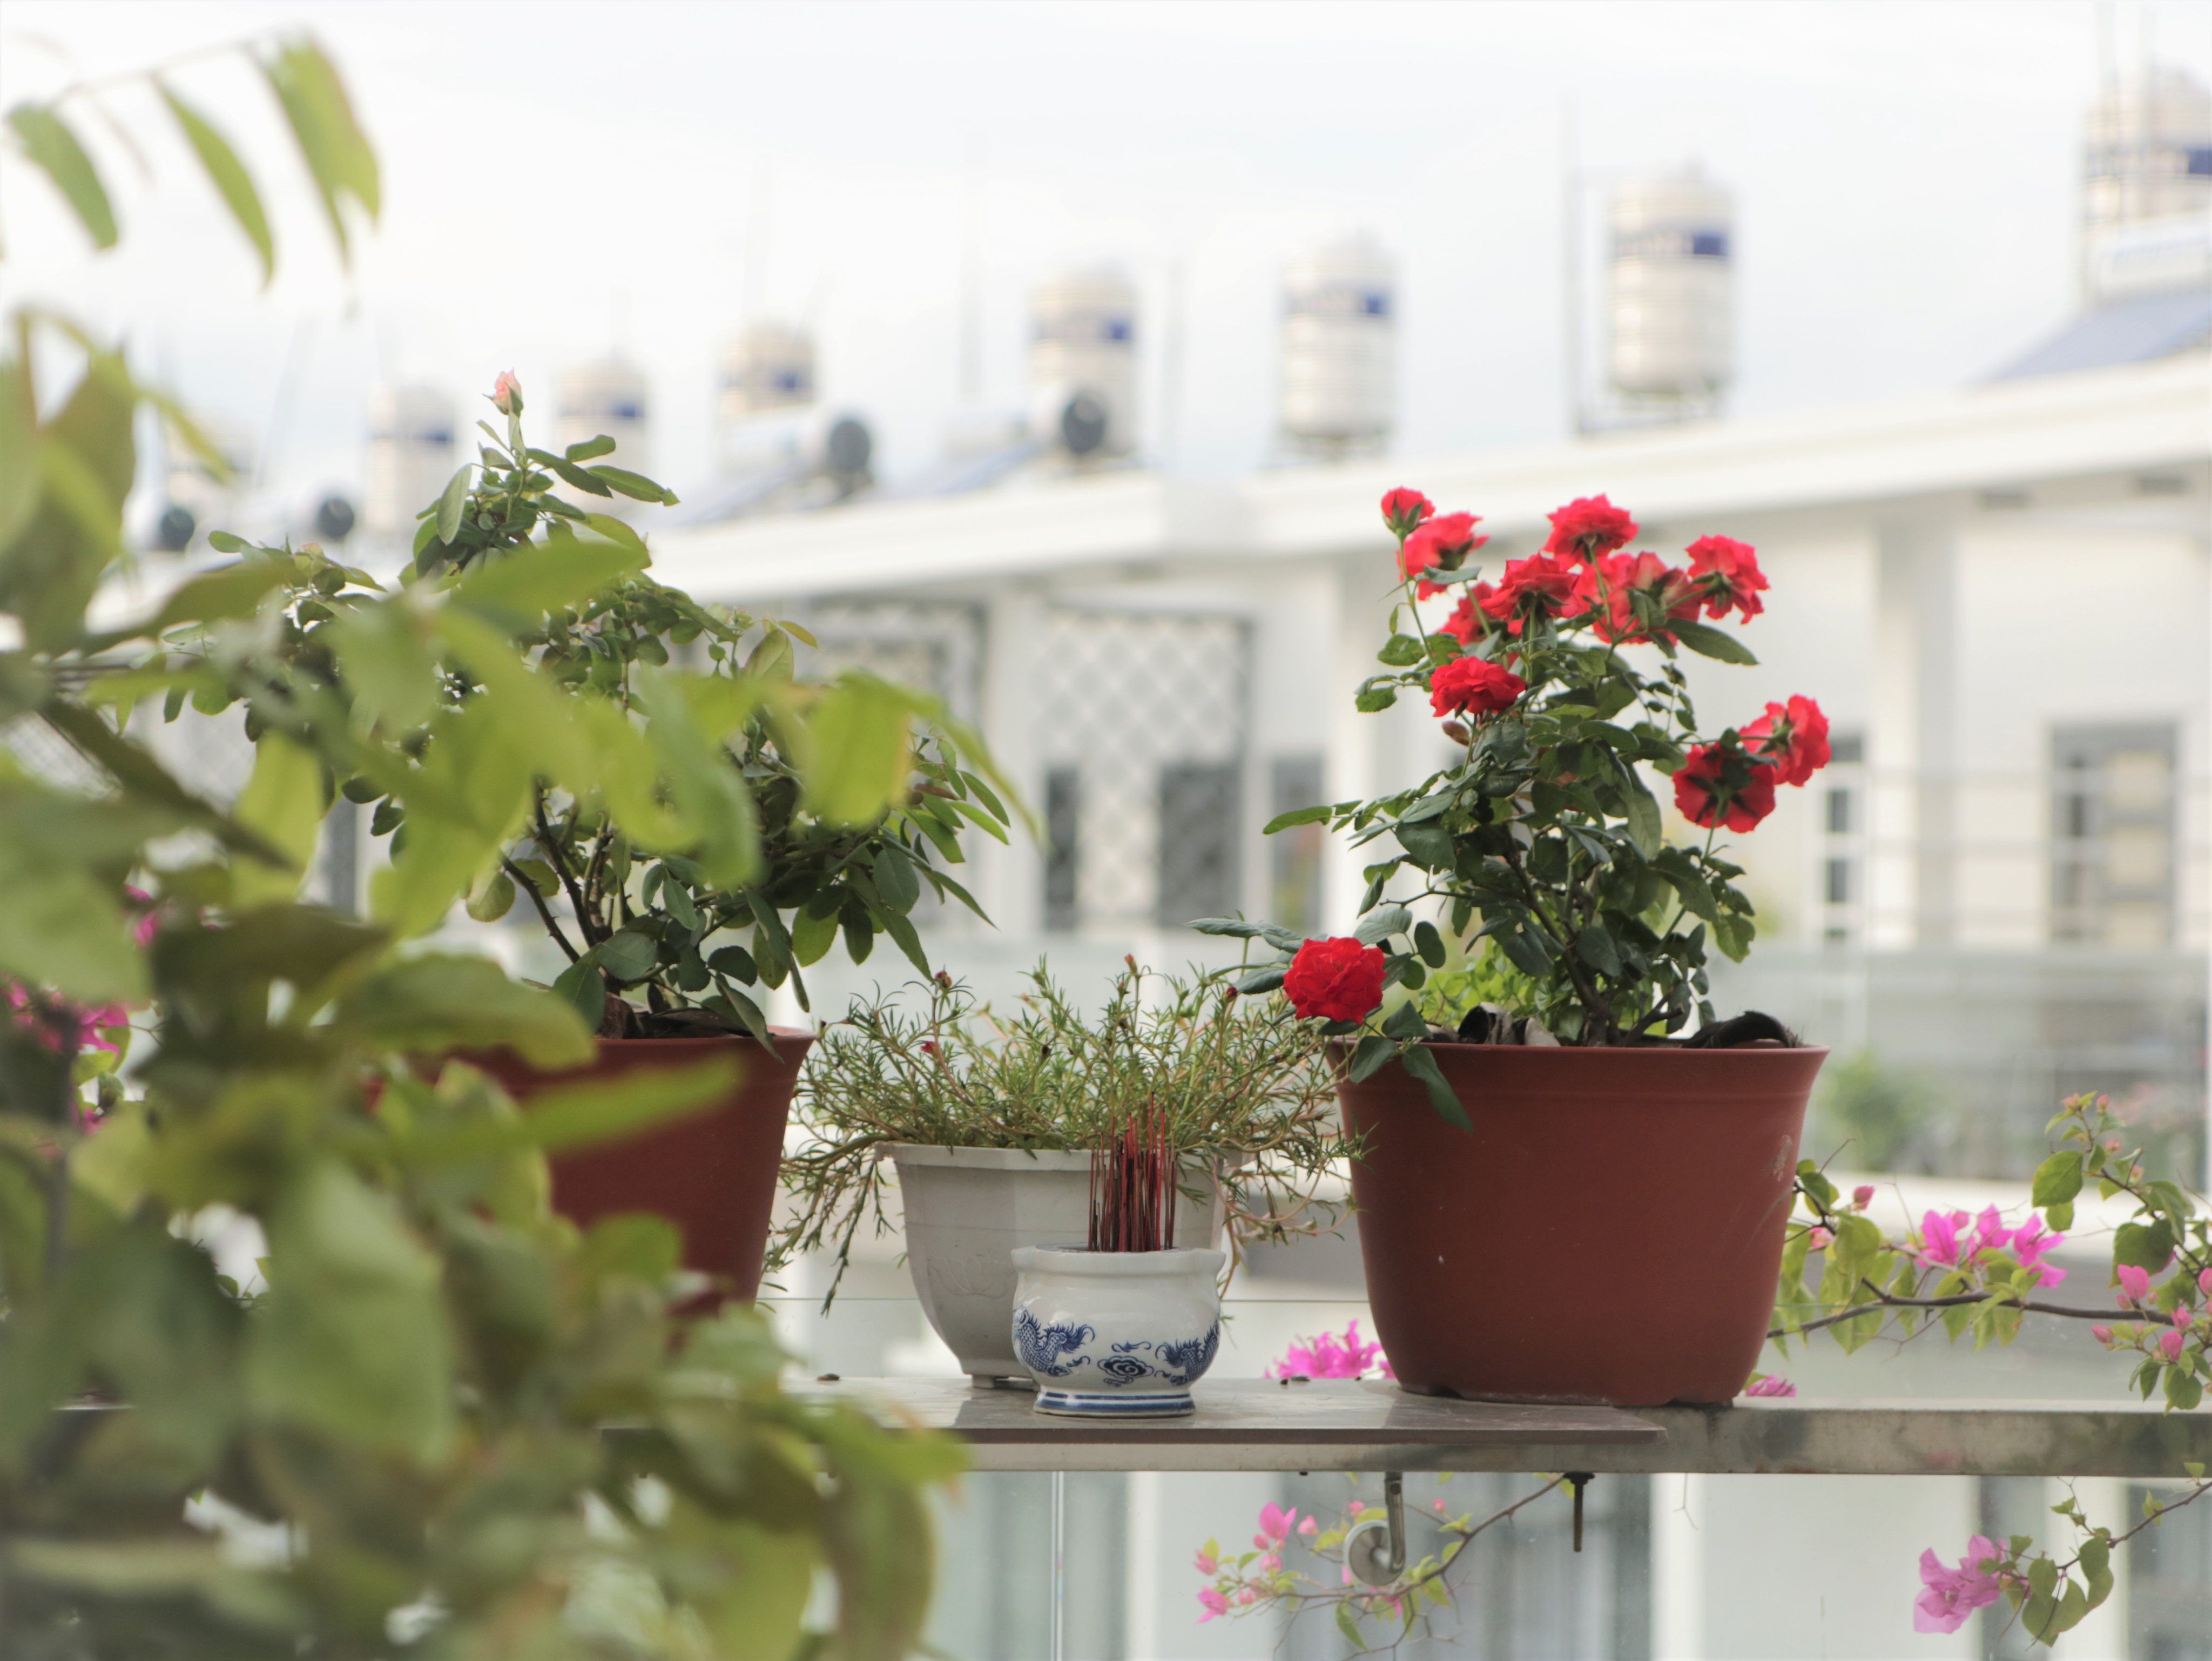
Planters add color and softness, but they also add weight and can become climbing points. When planning them, consider:
- Place larger pots against the wall or near the center of the floor rather than on the rail.
- Only use railing-mounted boxes if the manufacturer rates them for the load, including wet soil.
- Choose low-to-medium height plants near the edge so the view stays open.
- Check that drainage does not run onto neighboring balconies or walkways below.
Grouping pots in odd numbers, varying their heights, and repeating one or two colors gives a balcony a designed look without crowding the edge.
Light the Balcony Without Creating Hazards
Evening lighting turns a balcony into a destination, but electrical safety matters as much as the glow. Keep these basics in mind:
- Use fixtures and cords rated for outdoor and wet conditions.
- Plug lights into a ground-fault protected outlet, and do not run extension cords across walking paths.
- Secure cords along walls or railings with clips, keeping them away from heat sources.
- Light the stairs and the path to the door so that people can move around safely after dark.
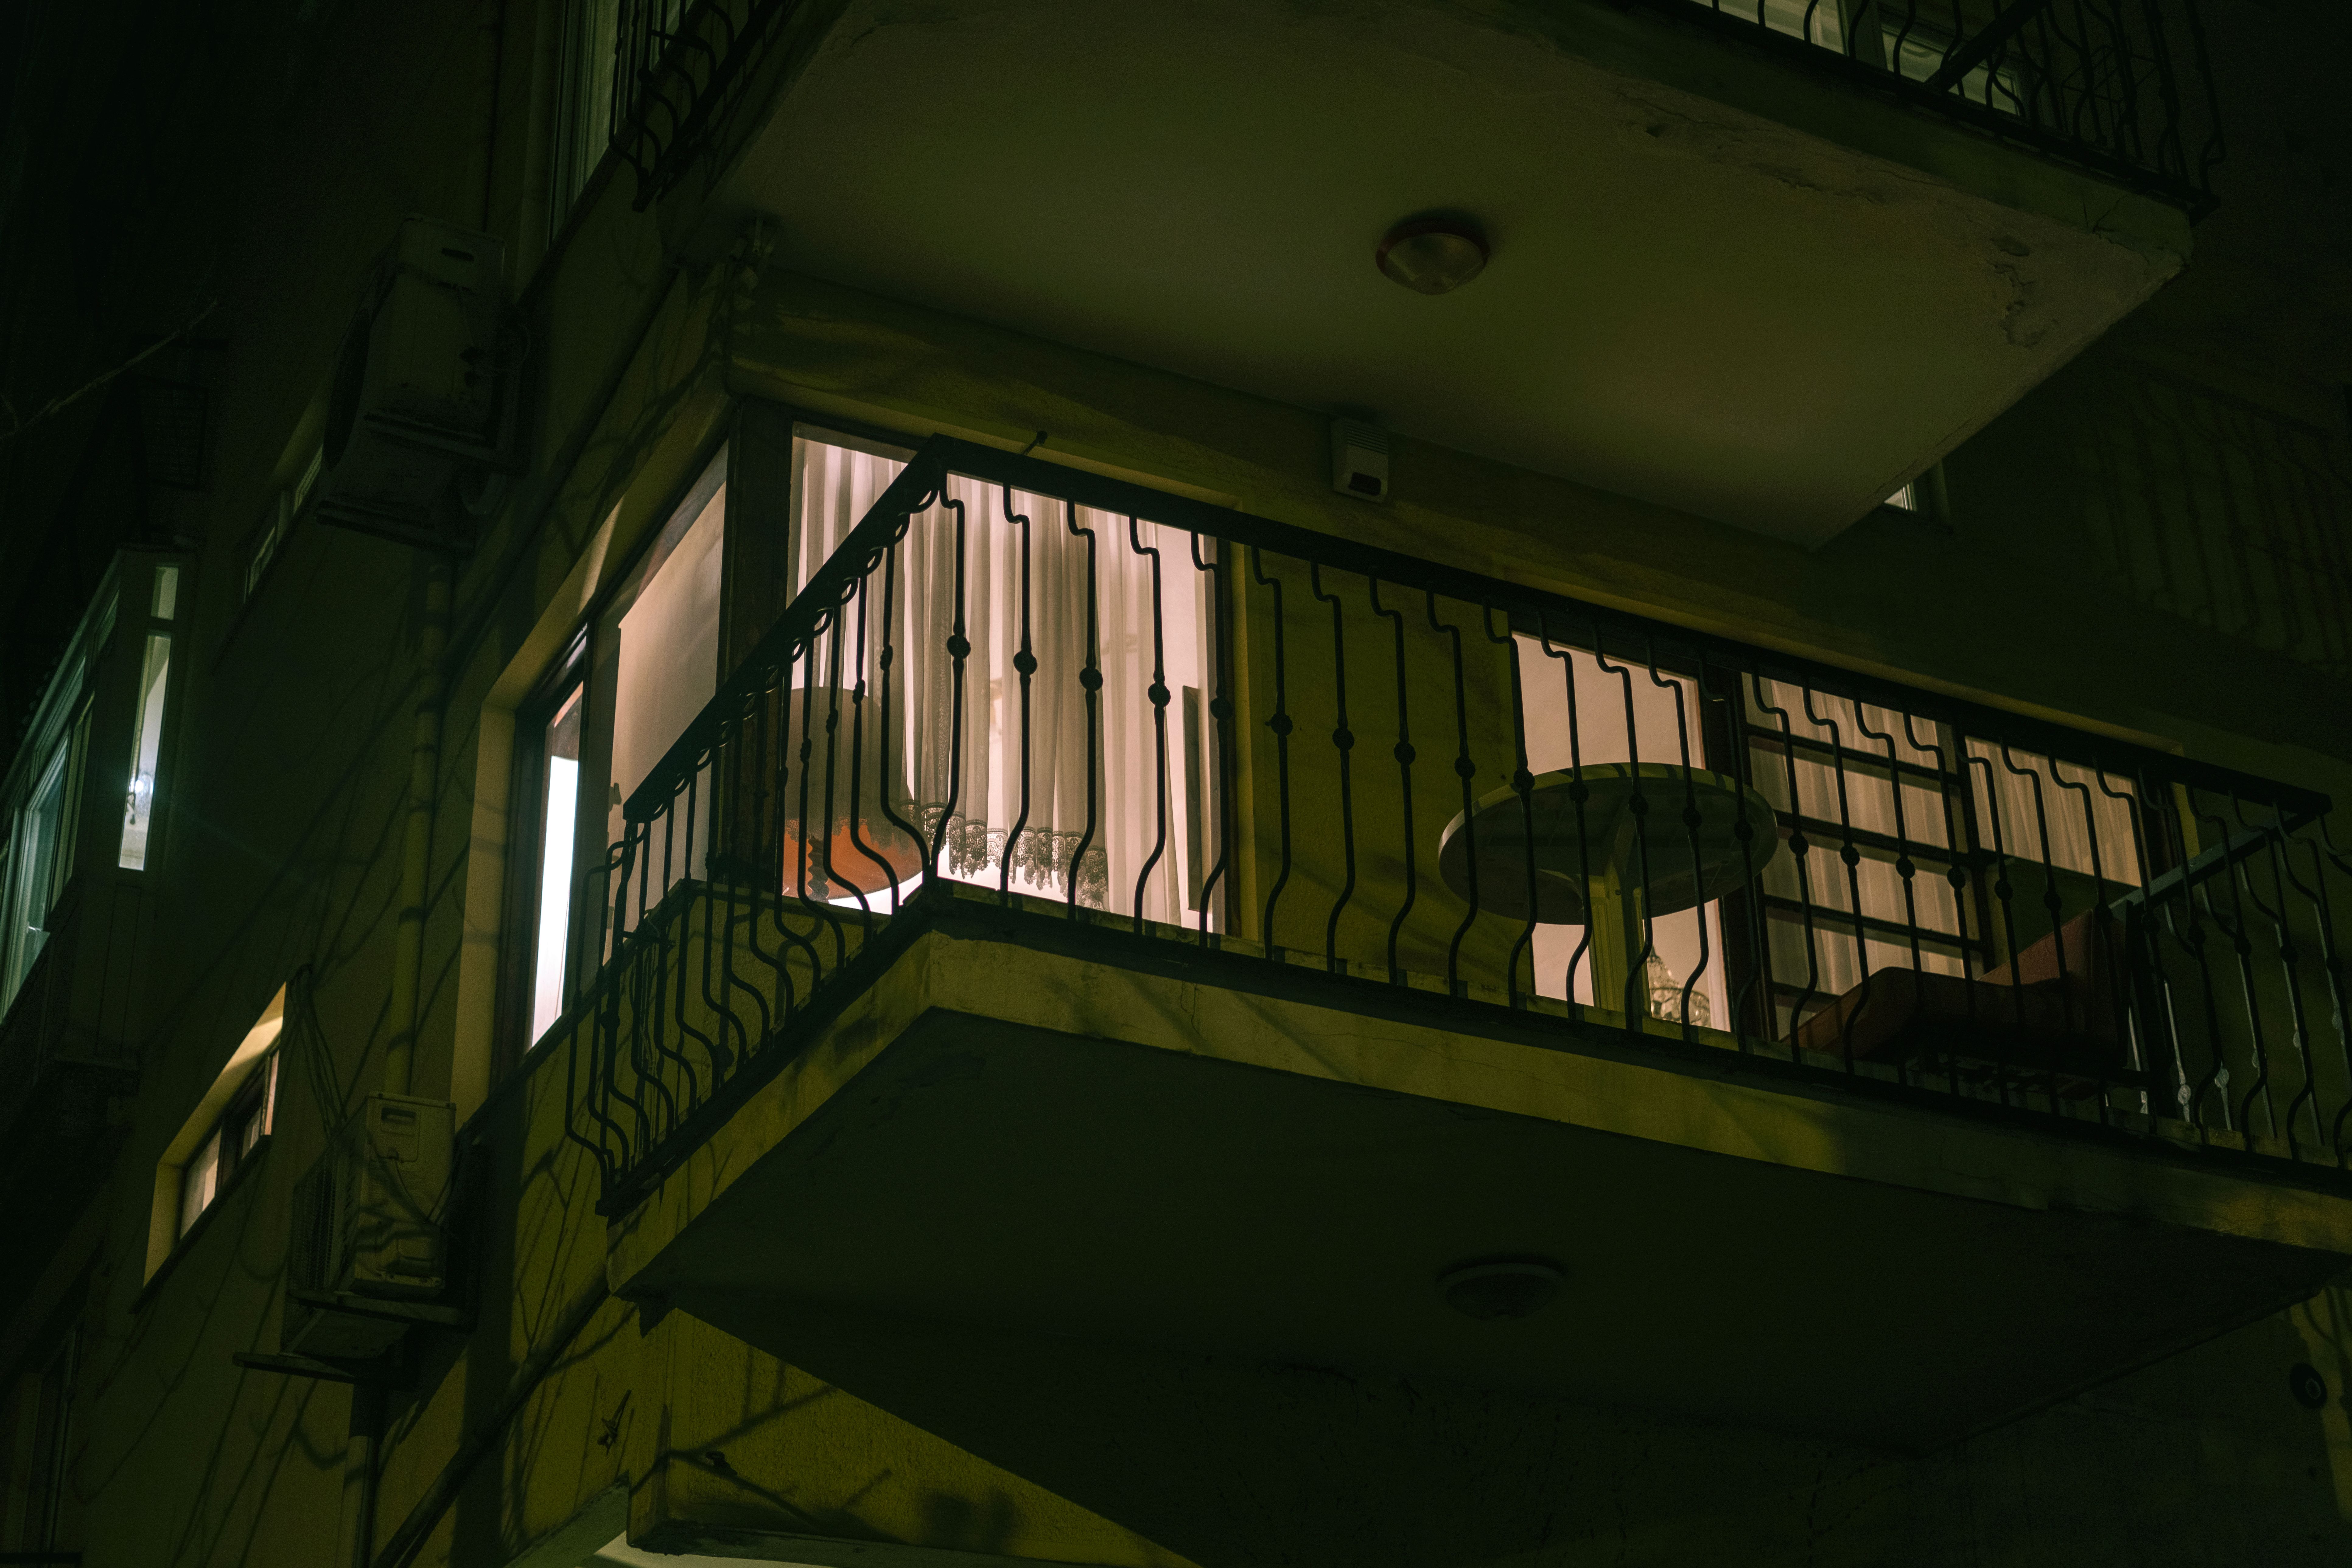
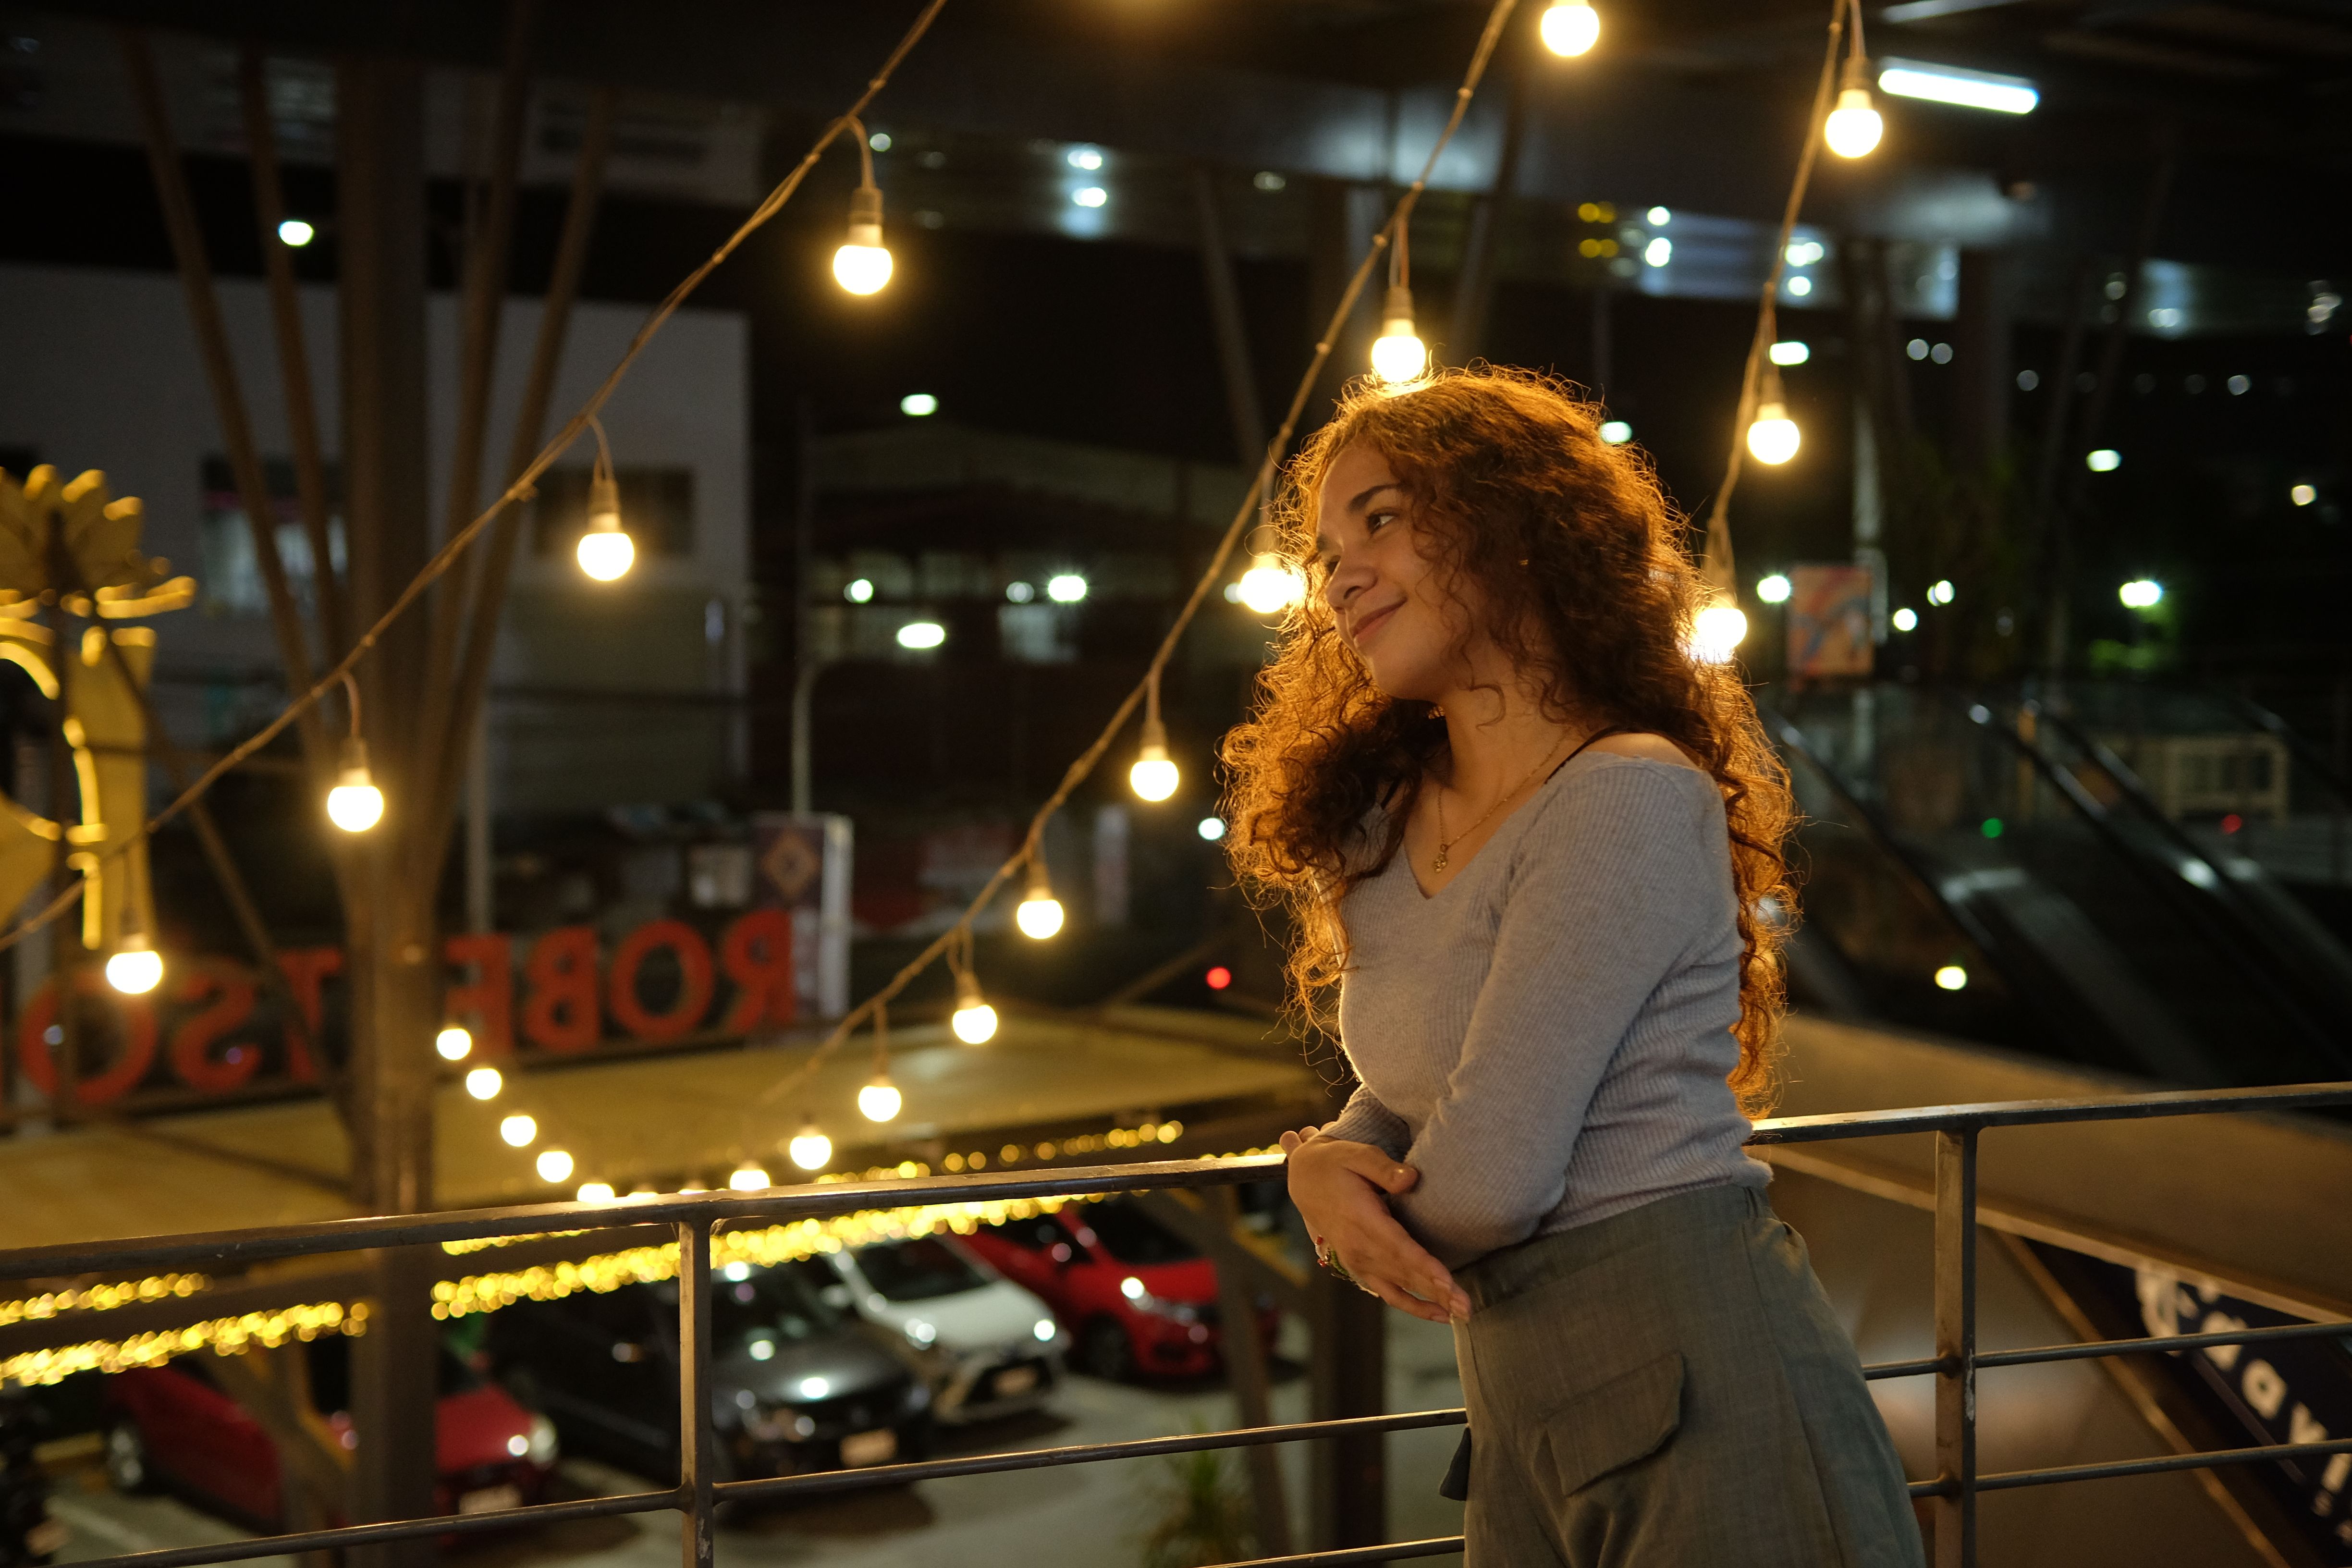
Warm white bulbs are gentler on the eyes and make plants and skin tones look natural in photos. Avoid placing lights where they can dazzle neighbors, and keep the brightest fixtures pointed toward the seating area.
Choose Plants That Suit Your Light and Wind
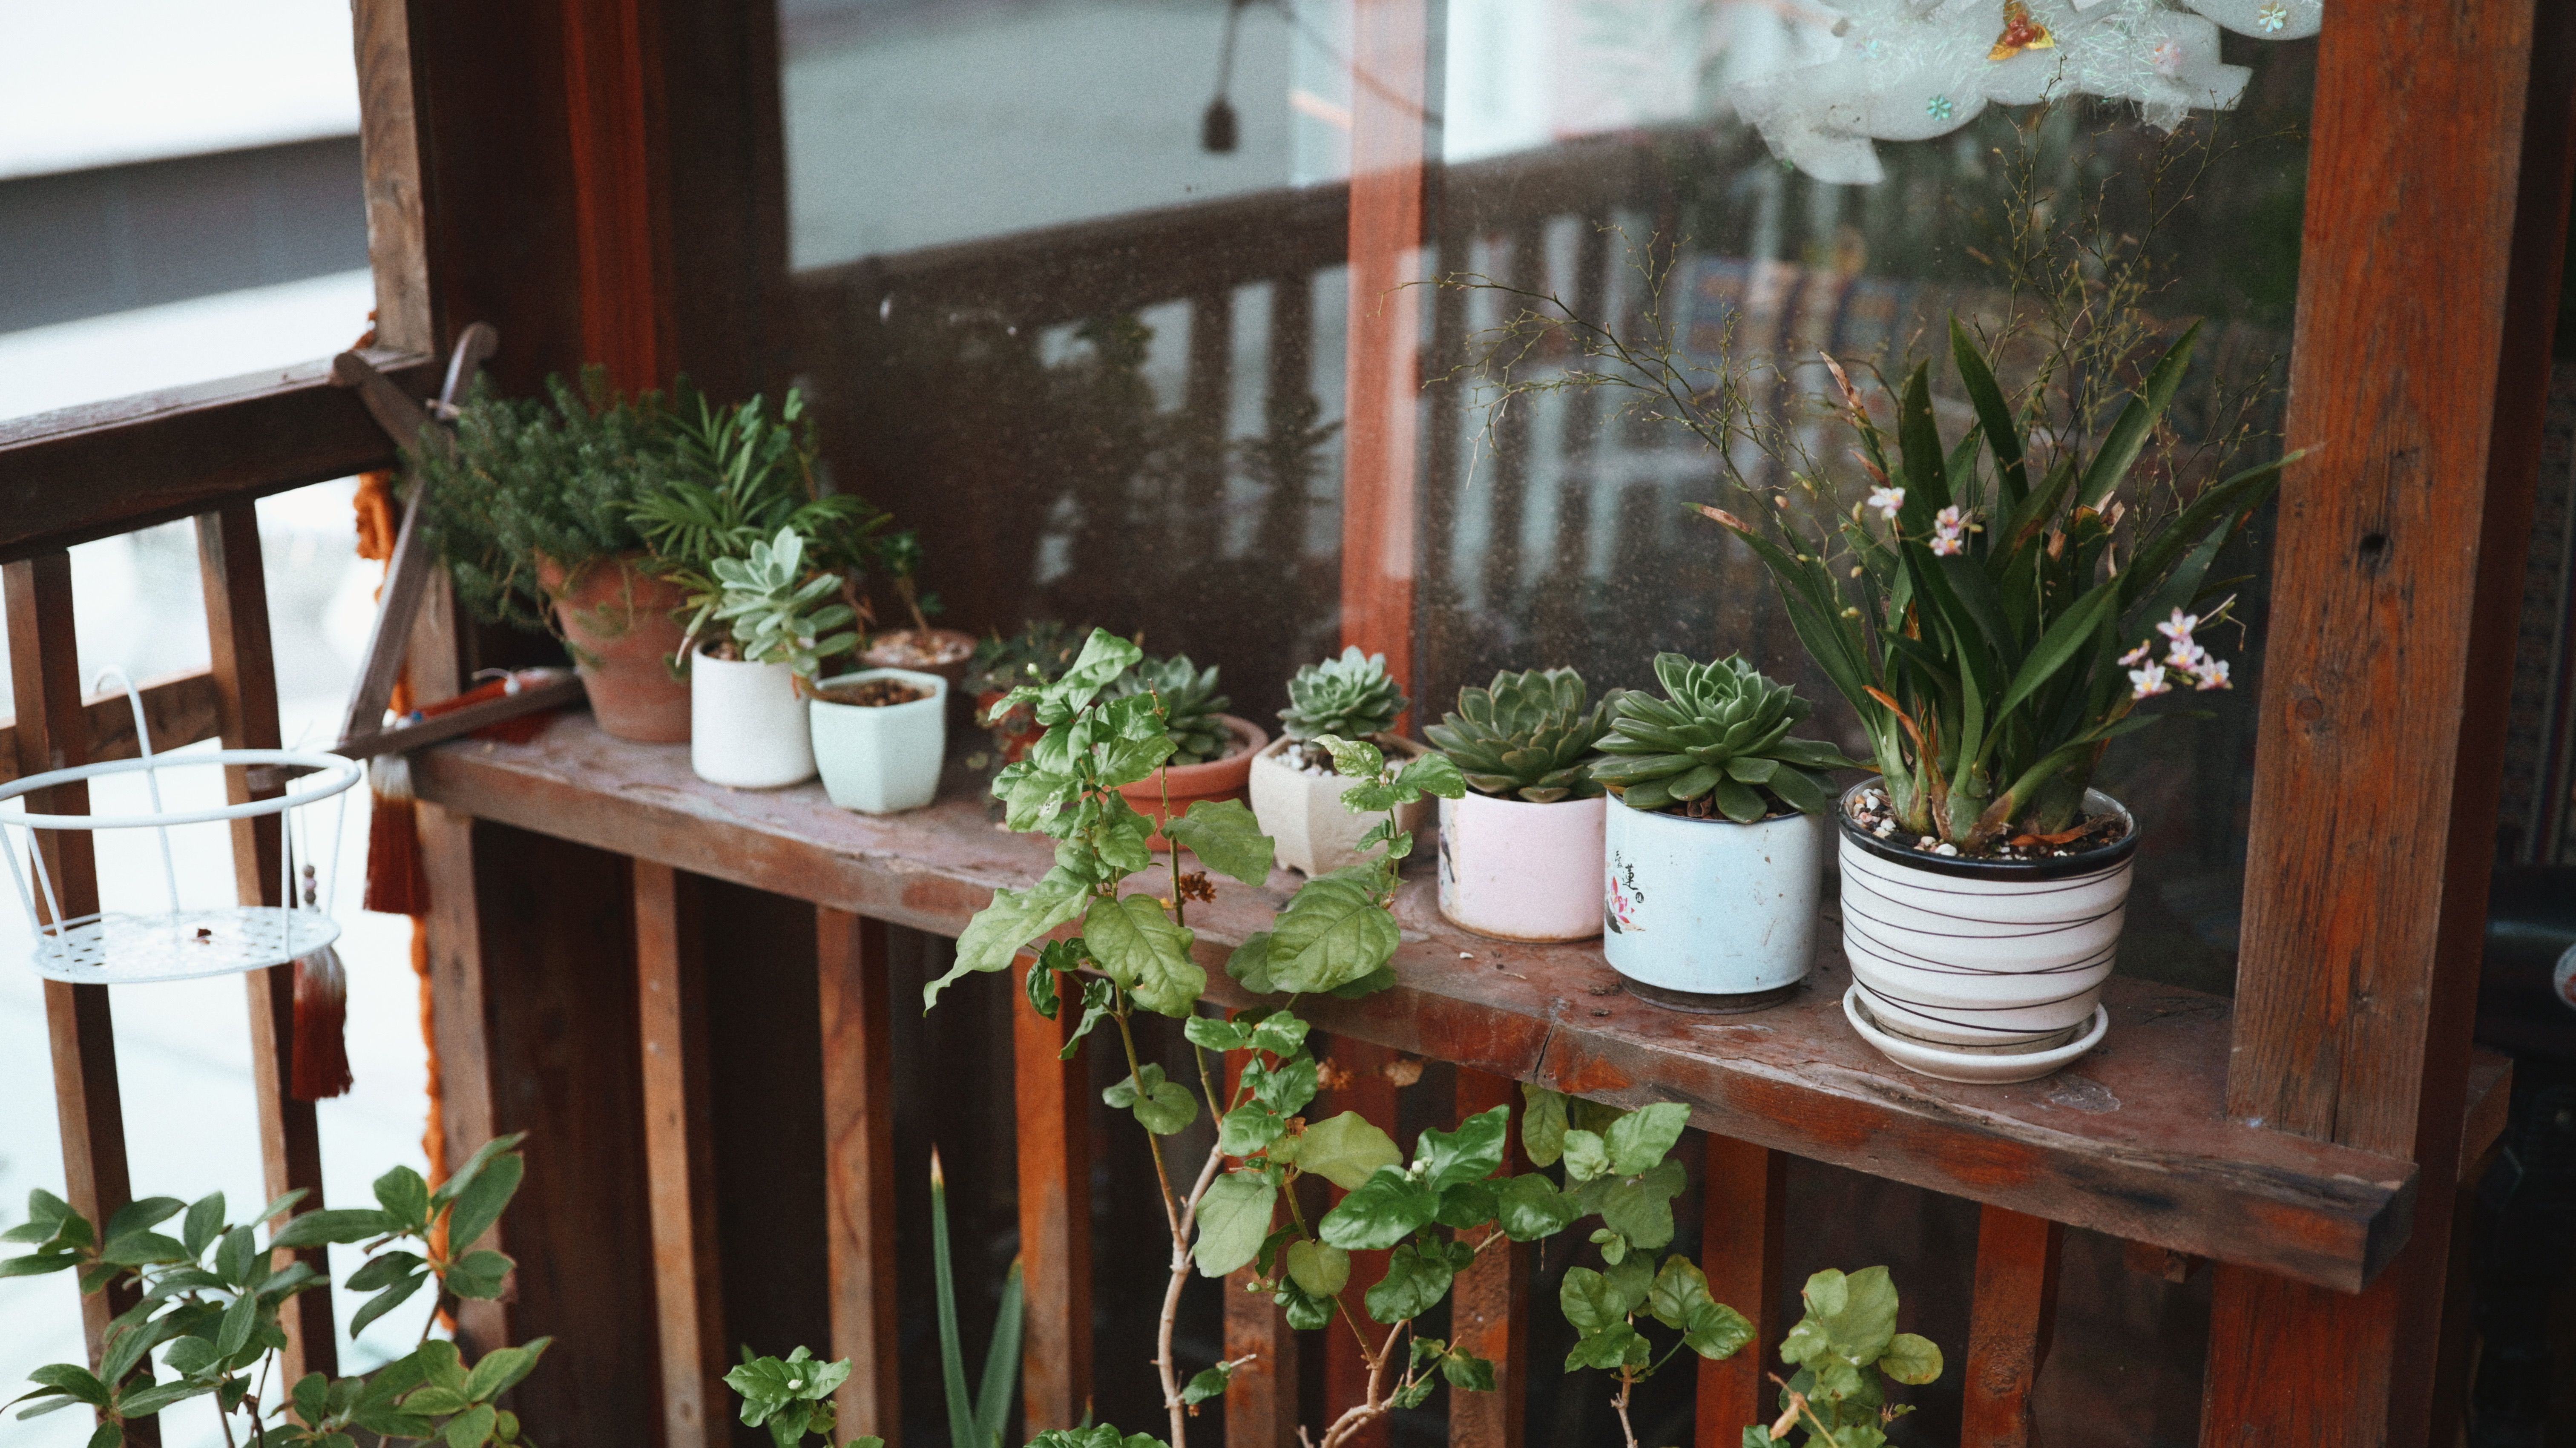
Plant choice affects how the balcony looks through the seasons and how much maintenance it needs. Start by checking how much sun and wind the space gets:
- Sunny, exposed spots: Succulents and drought-tolerant plants handle heat and drying winds well.
- Shaded corners: Ferns and shade-tolerant foliage plants keep the layout lush without needing full sun.
- Windy edges: Lower, sturdier plants are less likely to tip or lose leaves.
Mixing textures, such as spiky succulents beside soft trailing plants, gives the balcony depth in photos and keeps it interesting without overwhelming the floor plan.
Frequently Asked Questions
How high should a balcony railing be?
Under the model residential code cited above, guards for balconies are at least 36 inches high where the open edge is more than 30 inches above the surface below. Many local codes require more, so check your own rules before building or replacing a railing.
Are glass balcony railings safe?
They can be, when they meet the required height, load, and opening rules and are installed by a qualified contractor. Ask for documentation showing the glass type and the mounting system, and keep the glass cleaned so it is easy to see.
Can I hang planters on the railing?
Only if the railing and the planter are both rated for the weight of the plant, the soil, and water. Railing-mounted planters should never add a foothold or create an opening larger than the code allows.
Final Thoughts on a Balcony That Looks Good and Stays Safe
A photogenic balcony does not need to trade beauty for safety. Start with the height and opening rules, choose a railing that suits your climate and budget, and keep anything climbable away from the edge. Once those decisions are in place, the fun part begins: layering plants, adding warm light, and arranging a few well-chosen seats that make the space worth photographing and worth using every evening.