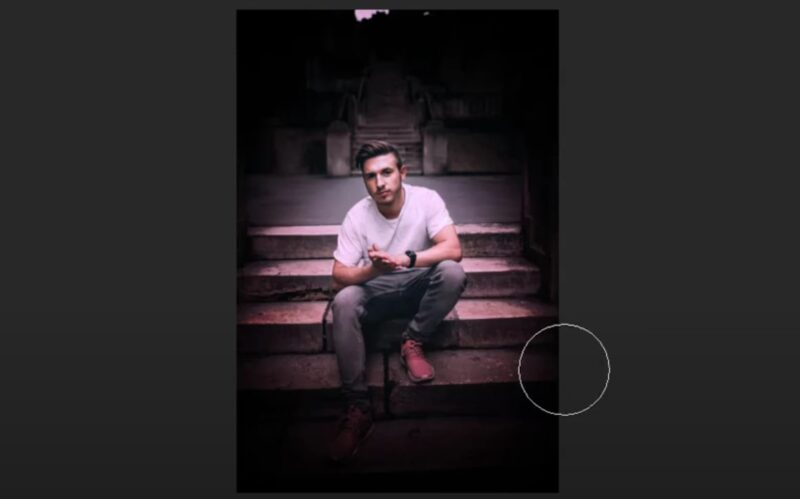
A vignette effect darkens or lightens the edges of a photo. This technique emphasizes the subject at the center. It creates a natural focus point. The effect can be subtle or dramatic, depending on your preference.
Here’s how you can achieve that using various tools and methods.
Canva
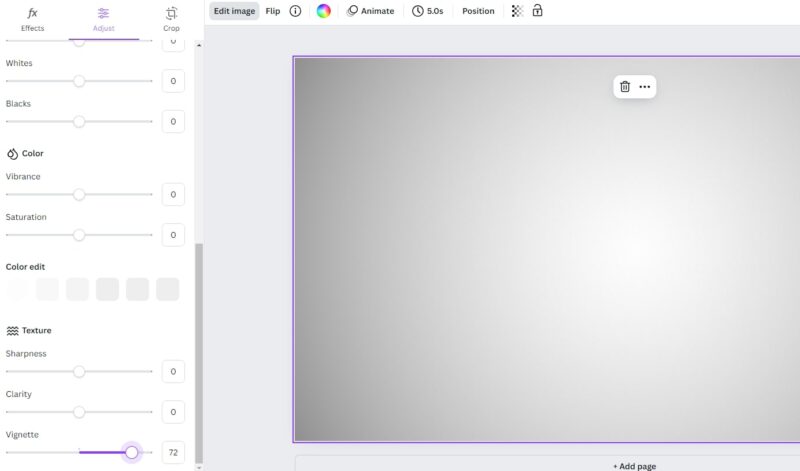
Canva offers a user-friendly way to apply a vignette effect. Follow these steps:
- Open Canva and upload your photo.
- Click on “Edit photo.”
- Navigate to the “Adjust” tab.
- Under “Texture,” find the “Vignette” option.
- Adjust the slider to control the intensity of the vignette.
Canva’s simple interface makes this process quick and easy. It’s perfect for those who need a fast solution. The platform provides intuitive controls that allow even beginners to achieve professional-looking results. The vignette tool in Canva can be combined with other adjustments like brightness, contrast, and saturation to enhance the overall effect.
Adobe Software
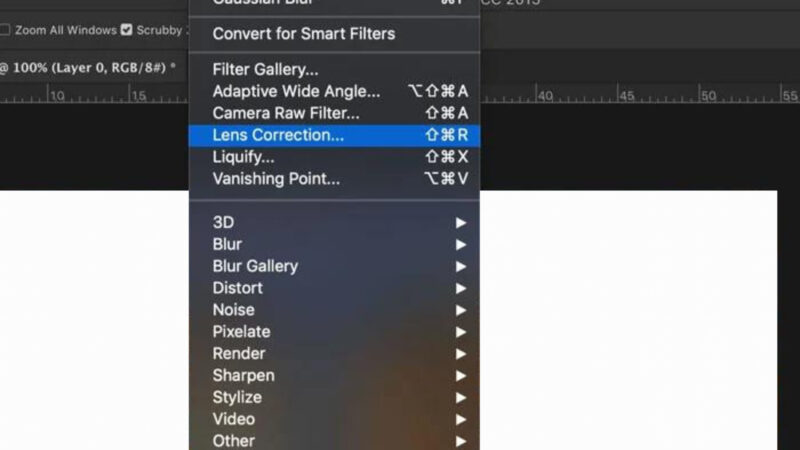
Adobe provides powerful tools for photo editing. Here’s a step-by-step guide:
- Open your photo in Adobe Photoshop.
- Go to the “Filter” menu.
- Select “Lens Correction.”
- In the new window, choose the “Custom” tab.
- Adjust the “Vignette” settings to your liking.
Adobe software allows for precise control. This method is ideal for photographers seeking a professional touch. In addition to Photoshop, Adobe Lightroom also offers excellent vignette tools. In Lightroom, you can navigate to the “Effects” panel and use the “Post-Crop Vignetting” slider to adjust the vignette effect. This option provides more control over the placement and intensity of the vignette.
Vignette App
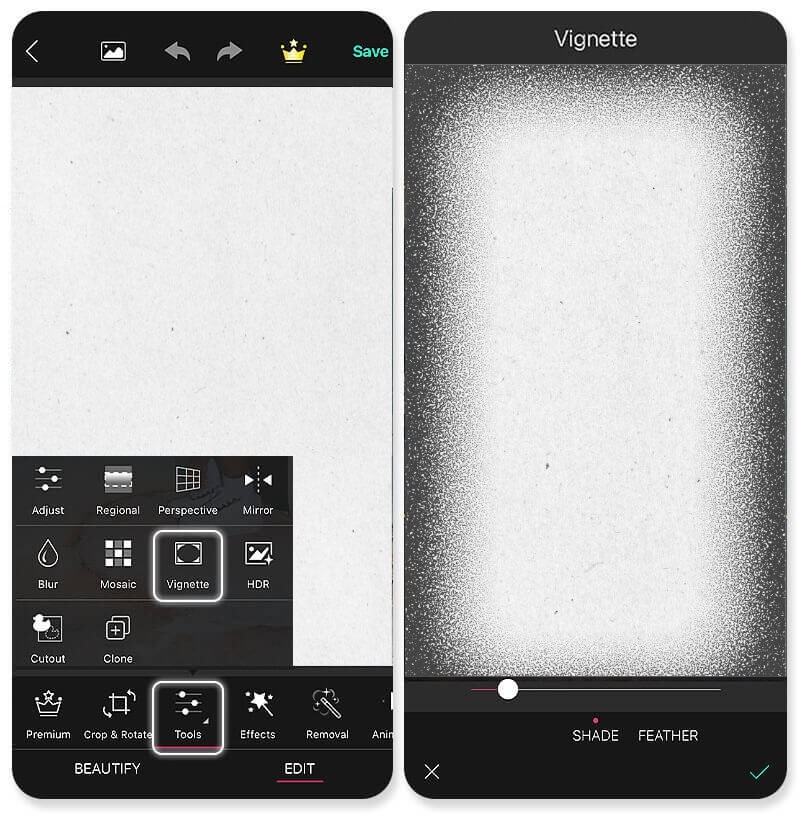
The Vignette app is designed specifically for this purpose. Here’s how to use it:
- Open the Vignette app and select the photo you want to edit.
- Go to the “Tools” menu.
- Choose the “Vignette” option.
- Adjust the effect using the available sliders.
The Vignette app offers a straightforward approach. It’s suitable for both beginners and advanced users. The app provides various styles of vignettes, including classic dark edges, soft blurs, and even light vignettes for a dreamy effect. You can experiment with different styles to see which best enhances your photo.
Apple’s Photos

For Mac users, the Photos app provides an easy way to add a vignette effect. Follow these steps:
- Open the Photos app and double-click the photo you want to edit.
- Click on “Edit” in the toolbar.
- Go to the “Adjust” section.
- Find the “Vignette” tool and apply the effect.
This method integrates seamlessly with your Mac’s ecosystem. It’s perfect for quick edits without needing additional software. The Photos app’s vignette tool includes sliders for intensity, radius, and softness, giving you control over how subtle or strong the effect appears.
Benefits of Using a Vignette Effect
Adding a vignette effect to your photos can provide several benefits:
- Focus: It draws attention to the center of the image, highlighting the subject.
- Mood: It adds a dramatic or soft touch, enhancing the overall mood.
- Depth: It creates a sense of depth, making the photo more engaging.
Understanding the advantages can help you decide when and how to use the effect. Vignettes can be especially useful in portrait photography, where they help to isolate the subject from the background, creating a more intimate and focused composition.
Tips for Achieving the Best Results
Here are some tips to ensure you get the best results:
- Subtlety: Start with a subtle effect and increase as needed. Too much can overwhelm the photo.
- Consistency: Use the effect consistently across a series of photos to maintain a cohesive look.
- Experimentation: Don’t hesitate to experiment with different intensities and settings.
These tips will help you achieve a polished and professional look. Consistent application of vignettes can create a signature style for your photography, making your work more recognizable and unique.
Common Mistakes to Avoid
Avoid these common mistakes when applying a vignette effect:
- Overuse: Applying the effect too heavily can distract from the subject.
- Inconsistency: Inconsistent use can make your photos look disjointed.
- Ignoring the Subject: Ensure the effect complements, rather than detracts from, the main subject.
Being aware of these mistakes can help you use the effect more effectively. Always consider the overall composition and how the vignette will impact the viewer’s perception of the photo.
Examples of Vignette Effects
Here are some examples of different vignette effects:
- Portraits: A soft vignette can add a romantic feel. It emphasizes the subject’s face, creating a pleasing focus.
- Landscapes: A dark vignette can create a dramatic atmosphere. It enhances the natural framing of the landscape, drawing attention to the center.
- Still Life: A light vignette can enhance the focus on objects. It subtly guides the viewer’s eye without being too noticeable.
Seeing how the effect works in various contexts can inspire your own edits. Try different styles and intensities to see what works best for your specific photos.
Conclusion
Creating a vignette effect in your photos can enhance their visual appeal. Whether you use Canva, Adobe software, the Vignette app, or Apple’s Photos app, each tool offers unique features to help you achieve the desired result.
Remember to apply the effect thoughtfully, ensuring it complements your photo and highlights the subject effectively. Experiment with different settings, be mindful of common mistakes and enjoy the process of enhancing your photos.