Are you tired of searching for the perfect decal design, only to find out that it does not come in the size or color you need? Look no further! With an inkjet printer and a few simple materials, you can create your own custom decals right from home.
In this article, we’ll guide you through the process of making high-quality decals that will make all your DIY dreams come true. Get ready to unleash your creativity and personalize any surface with these easy-to-follow steps. Let’s get started!
Materials You Will Need
To make decals with an inkjet printer, you will need the following materials:
- Inkjet printer
- Decal paper (clear or white)
- Scissors or a craft knife
- Tape
- Pen or pencil
- Ruler or measuring tape
Making Decals- Step-by-Step Guide
Decals are a great way to add some personal touch to your belongings. From customizing your phone case to adding graphics to your car, decals can be used to add some flair and style. While you can buy pre-made decals, creating your own using an inkjet printer is a cost-effective way to get exactly what you want.
Step 1: Design Your Decal
The first step in making a decal is to design it. There are various software programs available for designing decals, such as Adobe Illustrator, Inkscape, or even Microsoft Word. If you are not familiar with these programs, you can also use online tools like Canva or Crello.
When designing your decal, keep in mind the size and shape of the surface you will be applying it to. You should also consider the color scheme and any text or images that you want to include. Once you have created your design, save it as a high-resolution image file, such as a PNG or JPG.
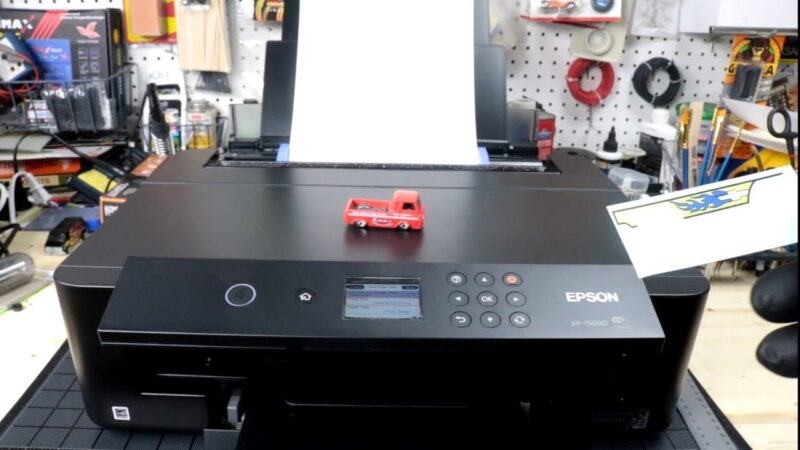
Step 2: Choose the Right Printer and Paper
The next step is to choose the right printer and paper. You will need an inkjet printer that uses water-based inks. This is because decals are typically made with vinyl or transfer paper, which can be damaged by oil-based inks.
For the paper, you can use either vinyl or transfer paper. Vinyl paper is more durable and waterproof, making it ideal for outdoor use. Transfer paper, on the other hand, is easier to work with and is suitable for indoor use.
Step 3: Print Your Decal
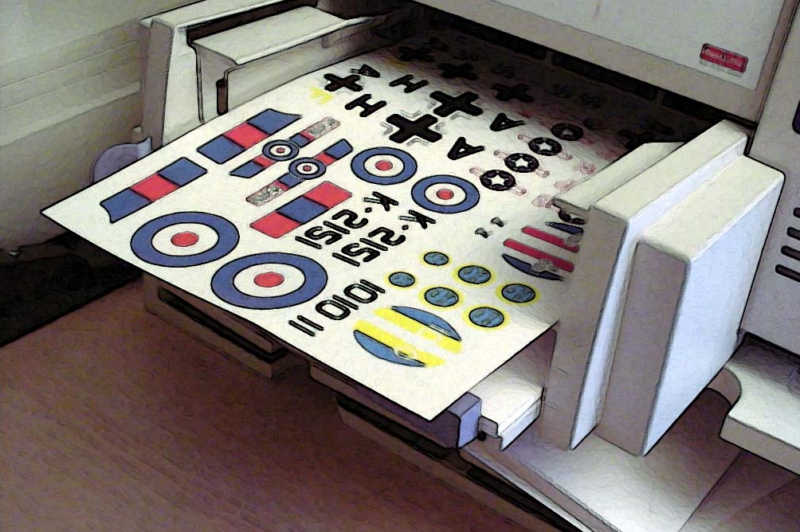
Once you have your design and paper ready, it’s time to print your decal. Load the vinyl or transfer paper into your printer and adjust the settings according to the paper’s instructions.
Make sure to print a test page before printing the final decal. This will help you make any necessary adjustments to the design or printer settings before wasting the actual paper.
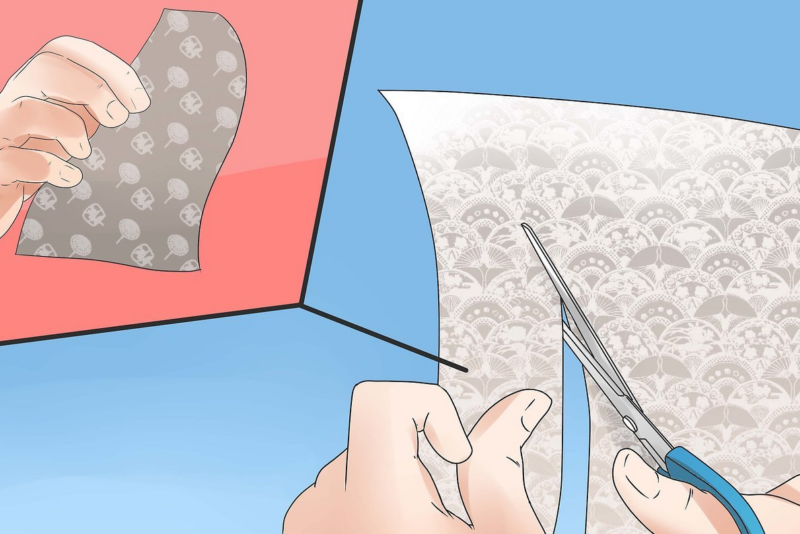
Step 4: Cut Your Decal
After printing your decal, you will need to cut it out. If you are using vinyl paper, you can use a cutting machine like a Cricut or Silhouette to cut out your design. Alternatively, you can use a pair of scissors or a craft knife to cut the decal by hand.
If you are using transfer paper, you will need to use transfer tape to transfer the design onto your surface. Cut the transfer tape to the size of your decal and place it on top of the printed decal. Use a scraper or credit card to smooth out any air bubbles and ensure that the transfer tape adheres to the decal.
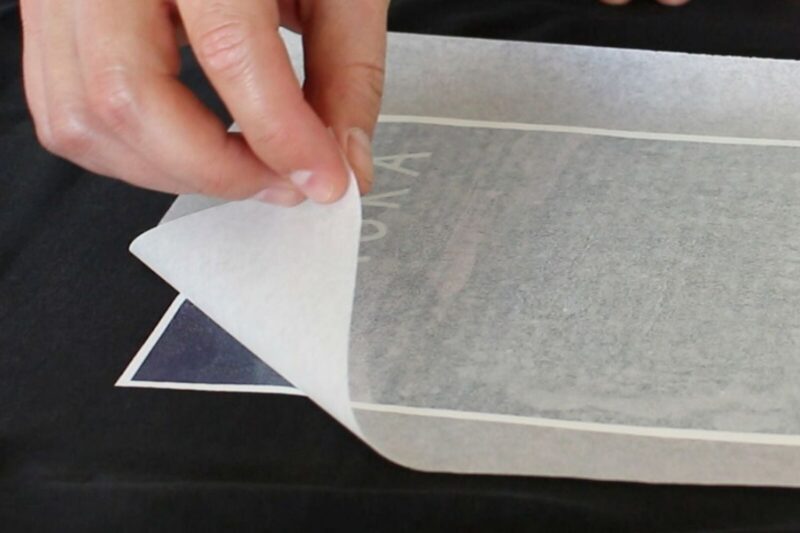
Step 5: Apply Your Decal
Now it’s time to apply your decal to your chosen surface. If you are using vinyl paper, simply peel off the backing paper and apply the decal to the surface, starting from one end and working your way across.
If you are using transfer paper, carefully peel off the backing paper from the decal and transfer tape. Place the decal onto your surface and use the scraper or credit card to smooth out any air bubbles. Once the decal is in place, slowly peel off the transfer tape, leaving the decal behind.
Step 6: Seal Your Decal
The final step is to seal your decal to ensure it lasts longer. You can use a clear acrylic spray to seal the decal and protect it from fading or peeling. Hold the can about 8-10 inches away from the decal and spray a thin, even coat over the entire surface. Allow the decal to dry completely before handling or using it.
Tips and Tricks for Making Decals with an Inkjet Printer
Here are some additional tips and tricks for making decals with an inkjet printer:
-
Use the right printer settings
Different printers have different settings, so it’s essential to use the correct ones for your printer. Check the manufacturer’s instructions for recommended settings for your printer and paper type. Ensure that you select the right paper type, print quality, and ink density for your decal.
-
Use a high-quality image
The quality of the image you use for your decal will affect the final output. Use a high-quality image with a high resolution to ensure that the details of your design are sharp and clear. Avoid using images that are blurry or pixelated, as they may not print well.
-
Choose the right vinyl or transfer paper
Source: bobvila.com
Choosing the right vinyl or transfer paper is critical to the success of your decal. Use high-quality vinyl or transfer paper that is compatible with your printer’s ink and settings. Avoid using cheap or low-quality paper, as it may not stick well or may peel over time.
-
Test your design before cutting
Before cutting the decal, test your design on a small piece of paper or vinyl to ensure that the design fits the size and shape of your surface. This will also help you identify any issues with the design, such as missing details or poor resolution.
-
Clean your surface
Before applying the decal, make sure that the surface is clean and free from dirt, dust, or grease. Use a cleaning solution or rubbing alcohol to remove any residue or oils that may affect the adhesive.
-
Use transfer tape for precise application
If you are using transfer paper, use transfer tape to transfer the design onto your surface. This will help you apply the decal precisely and avoid any air bubbles or wrinkles. Use a scraper or credit card to smooth out any air bubbles and ensure that the decal adheres properly.
-
Seal the decal
To protect your decal from fading or peeling, use a clear acrylic spray to seal it. This will also help to protect the decal from scratches or wear and tear. Hold the can about 8-10 inches away from the decal and spray a thin, even coat over the entire surface. Allow the decal to dry completely before handling or using it.
Conclusion
Making decals with an inkjet printer can be a great way to make creative and unique designs. With the right supplies, some patience, and a steady hand you will have beautiful decals that are ready to be put anywhere from your laptop to your car windows.
Having custom-made decals is sure to set your artwork apart from the rest! So grab those supplies and get started on making some one-of-a-kind decorations that everyone will love.